

Photoshop Create Texture From Image
Photoshop texture tutorial
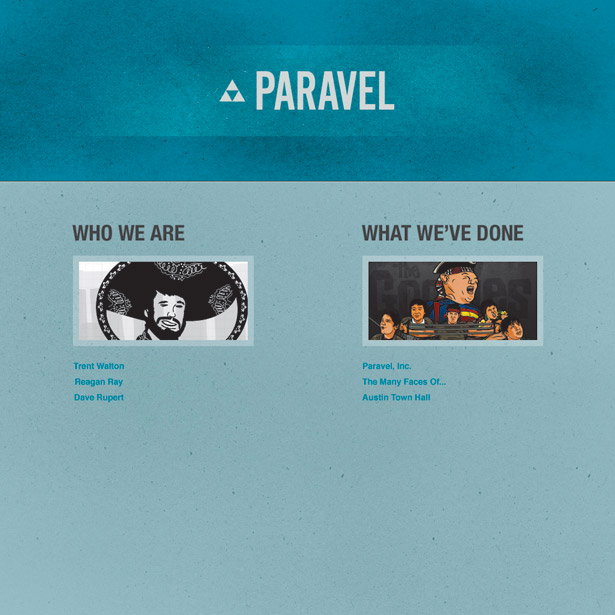
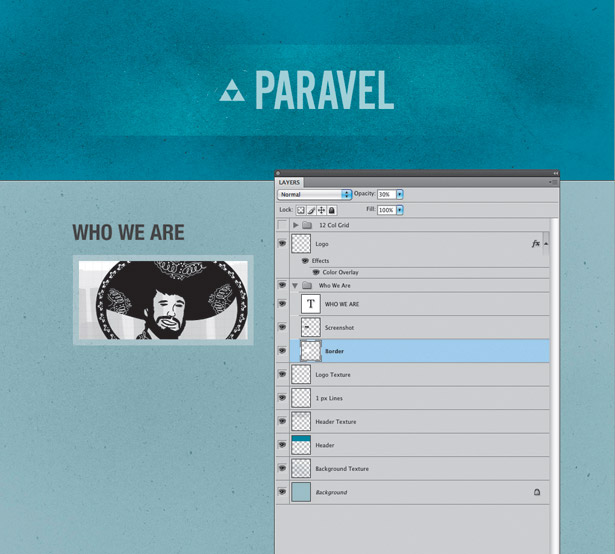
The Paravel website is a great example of how unusual textures can be used to liven up an otherwise boring block of colour – they're simple to implement with the right Photoshop, CSS and HTML techniques
Background textures on the web are all the rage, and there are many different ways to create them on a website. From scanning old paper to creating homemade grungemaps, I've found that an easy and effective solution is to use Photoshop brushes.
To start, let's keep in mind what background textures should and shouldn't do. They're not meant to be the focal point of a design or dictate the style of a site. I feel that they're best utilised when they add a subtle bit of individuality to a page and don't overwhelm the viewer. Be sure to get your colour scheme and layout right before you start worrying about textures.
- Check out the review of Photoshop CS6
In this tutorial, I'll be mocking up a simple one-page business-card website in Photoshop.
I'll begin by selecting the base colours and then adding texture to those shades in order to enhance the overall look and feel. You'll learn how to add textures for both the background and header of a site, and how to make them work well together. Then, to wrap things up, I'll guide you through exporting your background images and implementing them in CSS.
1. Start layout
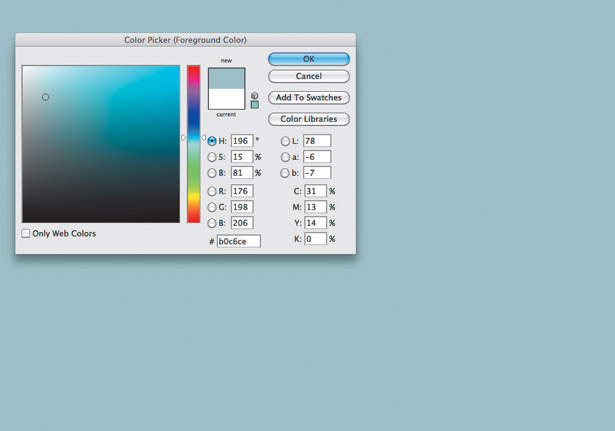
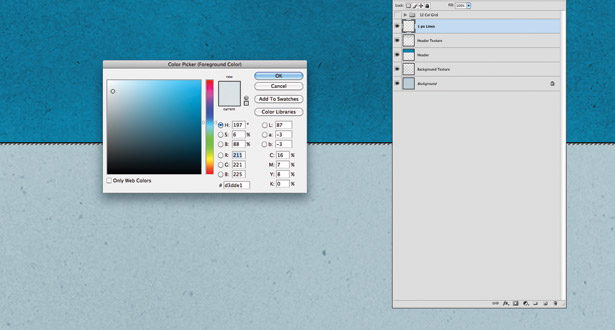
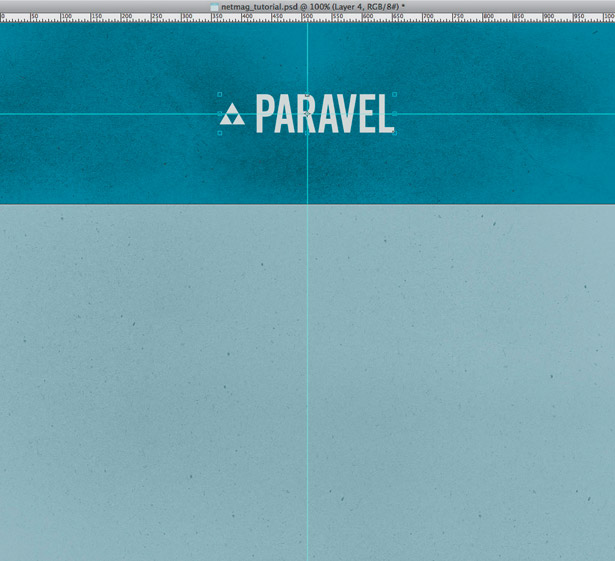
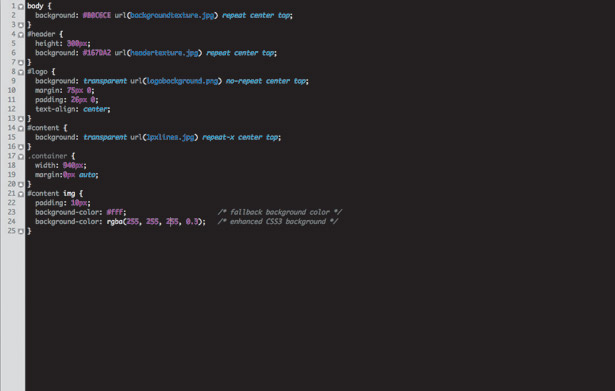
In Photoshop, create a 1020x1020 pixel document with a resolution of 72 pixels per inch and colour mode set to RGB. With the Color Picker, set the foreground colour to a hex value of #B0C6CE. Click on the Paint Bucket tool and fill the background layer.
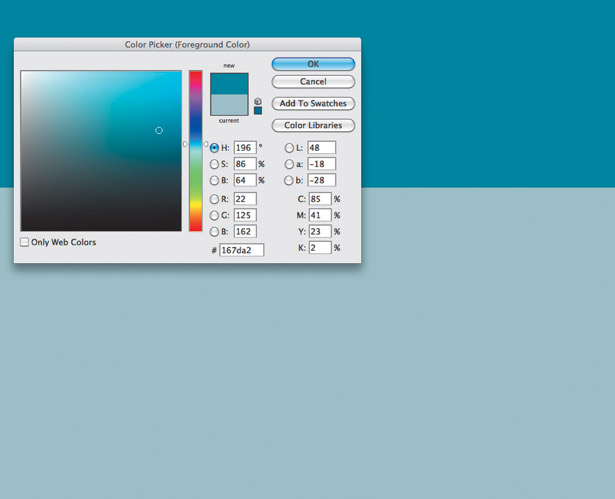
Create a Header layer over the background. With the rectangular Marquee tool, select an area in the top-left corner that's 1020 pixels wide and 300 pixels tall. Set the foreground colour to hex value #167DA2 and use the Paint Bucket to fill the new area with this hue.
3. Install brushes
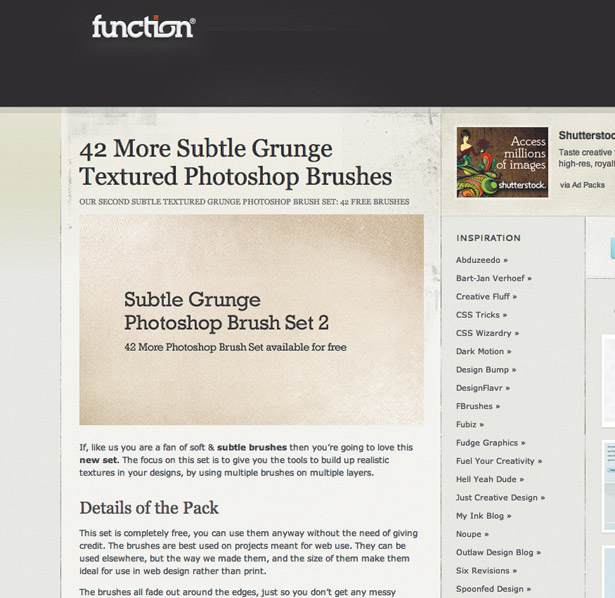
For this step, you'll need a set of grunge-textured brushes. I prefer to use ones from Liam McKay's Subtle Grunge Photoshop Brush Set 2. It's a free download and can be found at bit.ly/dn4K4J. Consult Photoshop Help for assistance with installing brushes.
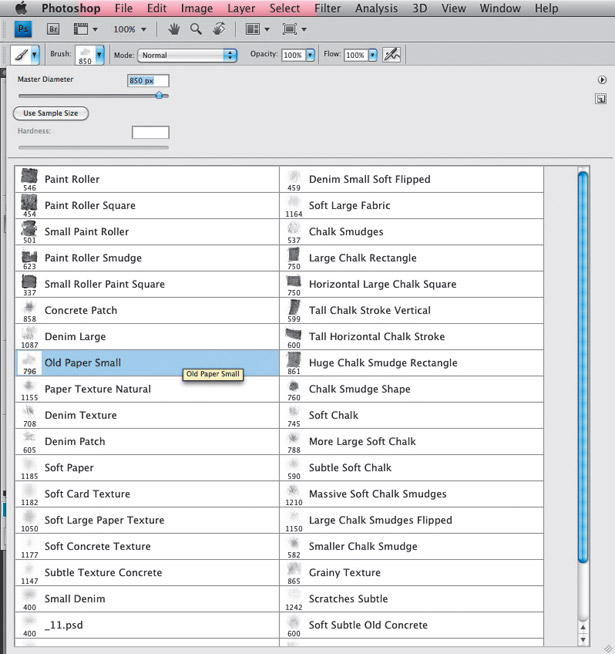
Create a new layer above Header and name it Header texture. Select the Brush tool and load the Subtle Grunge Brush Set you just installed. With these loaded, select the Old Paper Small brush and set the master diameter to 850 pixels.

5. Use brush strokes
With the Color Picker, choose a darker shade of the blue from the header – in this case, hex value #002B3A. Working on the Header texture layer, apply two brush strokes on top of the header, one on the left and one on the right.
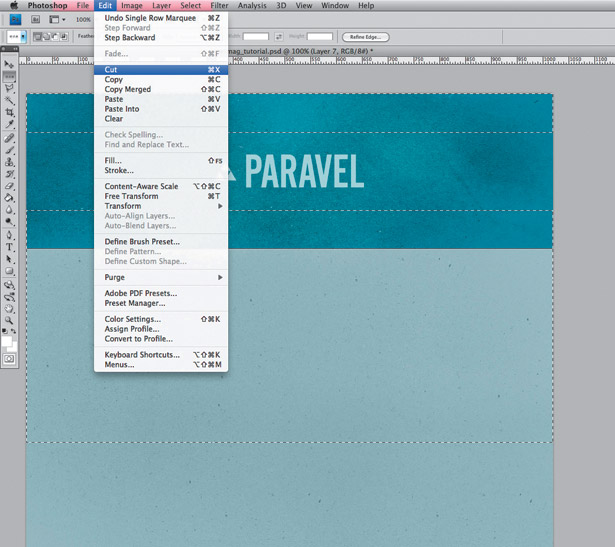
6. Tweak and trim
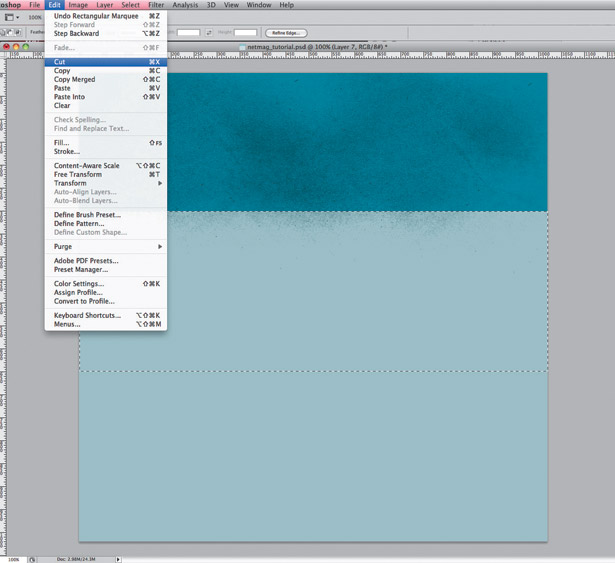
Still working on the Header texture layer, go to Image > Apply image and set the Blending mode to Multiply at an opacity of 50%. Using the rectangular Marquee tool, select and cut any excess brush marks that have extended below the header.
7. Start background texture
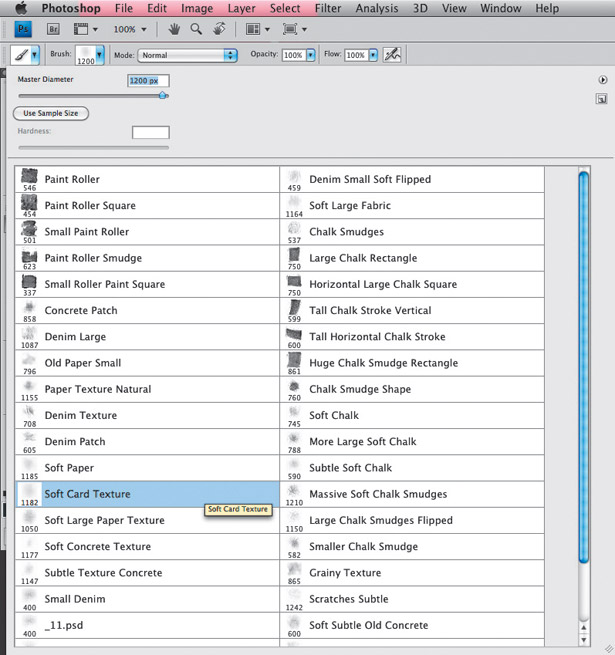
Create a new layer above the background and name it Background texture. With the Brush tool still selected, open the Brush Preset Picker and select Soft Card Texture from the Subtle Grunge Brush Set. Set the master diameter to 1200 pixels.

8. Develop the detail
While working on the Background texture layer, use the Color Picker to choose a darker shade – in this case, hex value #4E6C77. Starting from the top-left of the background and working clockwise, paint four brush strokes on top.
9. Insert a divider
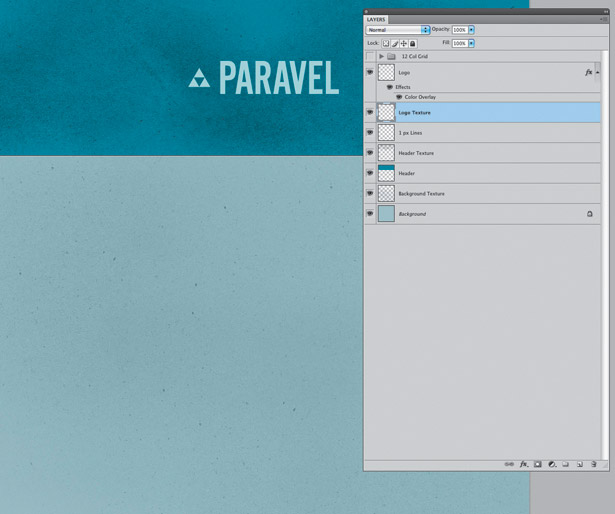
Create a new layer above the Header texture layer and name it 1 px lines. Using the single-row Marquee tool, select the area where the header and background meet and fill the selection with black. Underneath that line, create another one-pixel line and fill it with hex value #D3DDE1.
10. Add company logo
Open a version of your business or personal emblem with a transparent background. Drag it onto your document and label the layer Logo. Making sure the layer is at the top of the Layer palette, centre the design in the middle of the header.
11. Work on the logo
Create a new layer above Header texture and below Logo. Label it Logo texture. Select the Brush tool and activate the Old Paper Small brush with the Brush Preset Picker. Set the master diameter to 850 pixels.
12. Tidy up
On the Logo texture layer, set the foreground colour to white (#FFFFFF). Create a brush mark in the centre of the logo. With the rectangular Marquee tool, select an area 75 pixels above and below the logo. Go to Select > Inverse and cut the excess strokes.
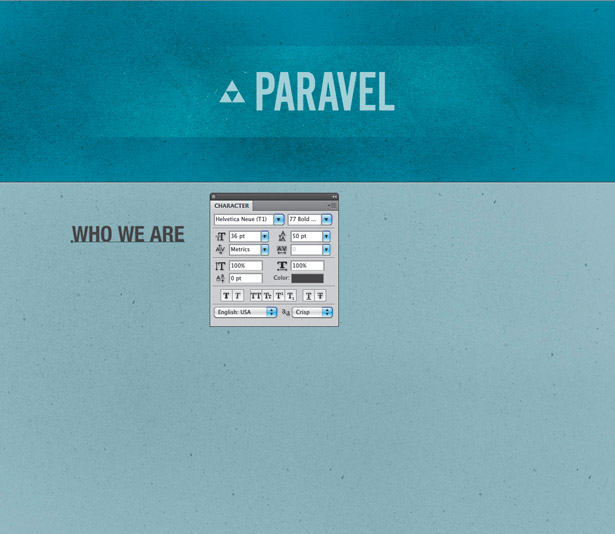
13. Add text
We're going to use a two-column layout for the content section. The headings are set in Helvetica Neue Bold Condensed with a size of 36 pixels and hex value of #3C3C3C. The links are set in Helvetica Bold with a size of 14 pixels and hex value of #167DA2.
14. Select screenshots
The thumbnail screenshots have been resized to 280x130 pixels. Once they've been placed in, create a 10-pixel border all the way around them on a new layer. Fill the border with the colour white (#FFFFFF) and set the opacity to 30%. Save your file.
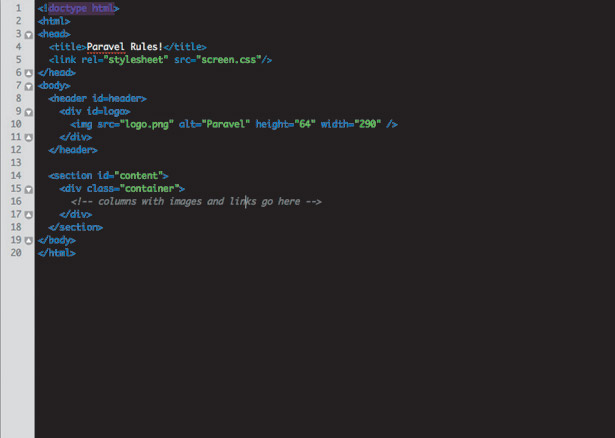
15. Create HTML
We've provided sample HTML and CSS to help you here, but look at the composition and you'll see that the HTML almost describes itself. There are two main sections of content: <div id="#header"> and <div id="#content">. Crop your images with this layout in mind.
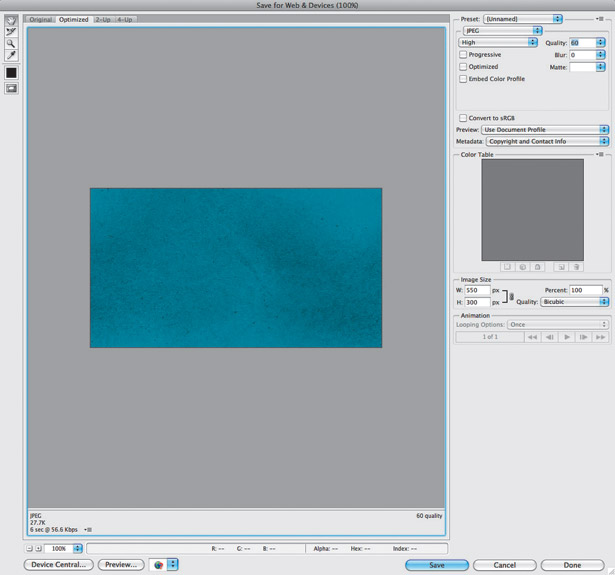
16. Crop and save
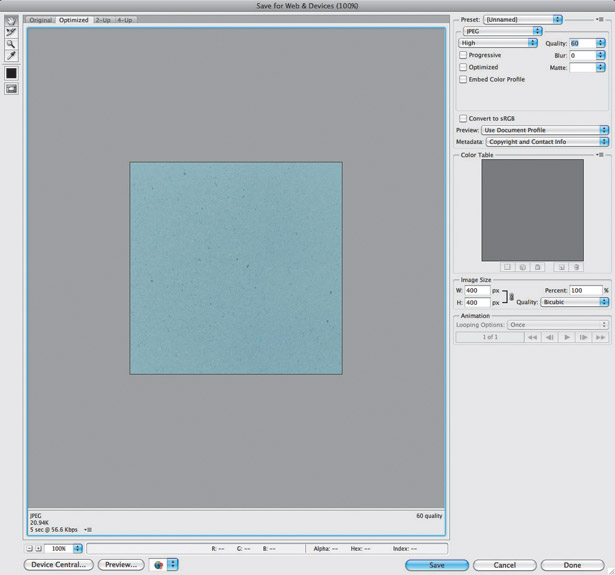
For the header and backdrop, crop a section of texture with background-color and go
to File > Save for web and devices to export a JPEG with a quality of 60. Export your one-pixel lines as one image, and the white logo background texture as a transparent PNG.
17. Create HTML and CSS
Here's some sample code that will get your site going. In this example, all images and CSS are in the same directory. You should be able to open index.html in your favourite modern browser and see the page load and your textures fill in.
18. Re-export
If you find any noticeable seams as the browser repeats your background texture, you'll have to play the re-export game. See 'Repeating textures', above, for help on creating repeatable background textures. It takes a lot of practice, finesse and compromise. Keep trying.
19. Improve your skills
Once you're satisfied, create columns in HTML and CSS. Wiith thanks to Trent Walton and Dave Rupert.
Get the latest Photoshop CS6 review from our sister site Creative Bloq.
Related articles
Photoshop Create Texture From Image
Source: https://www.creativebloq.com/netmag/photoshop-texture-tutorial-2117088
Posted by: biondohuriturnar.blogspot.com
0 Response to "Photoshop Create Texture From Image"
Post a Comment